
As an Amazon Associate I earn from qualifying purchases.
Pony beads are the easiest way to start making bracelets. They’re big, so they’re simple to thread, and a mixed set gives you plenty of colors to play with. The part that trips people up is deciding what order to put the colors in.
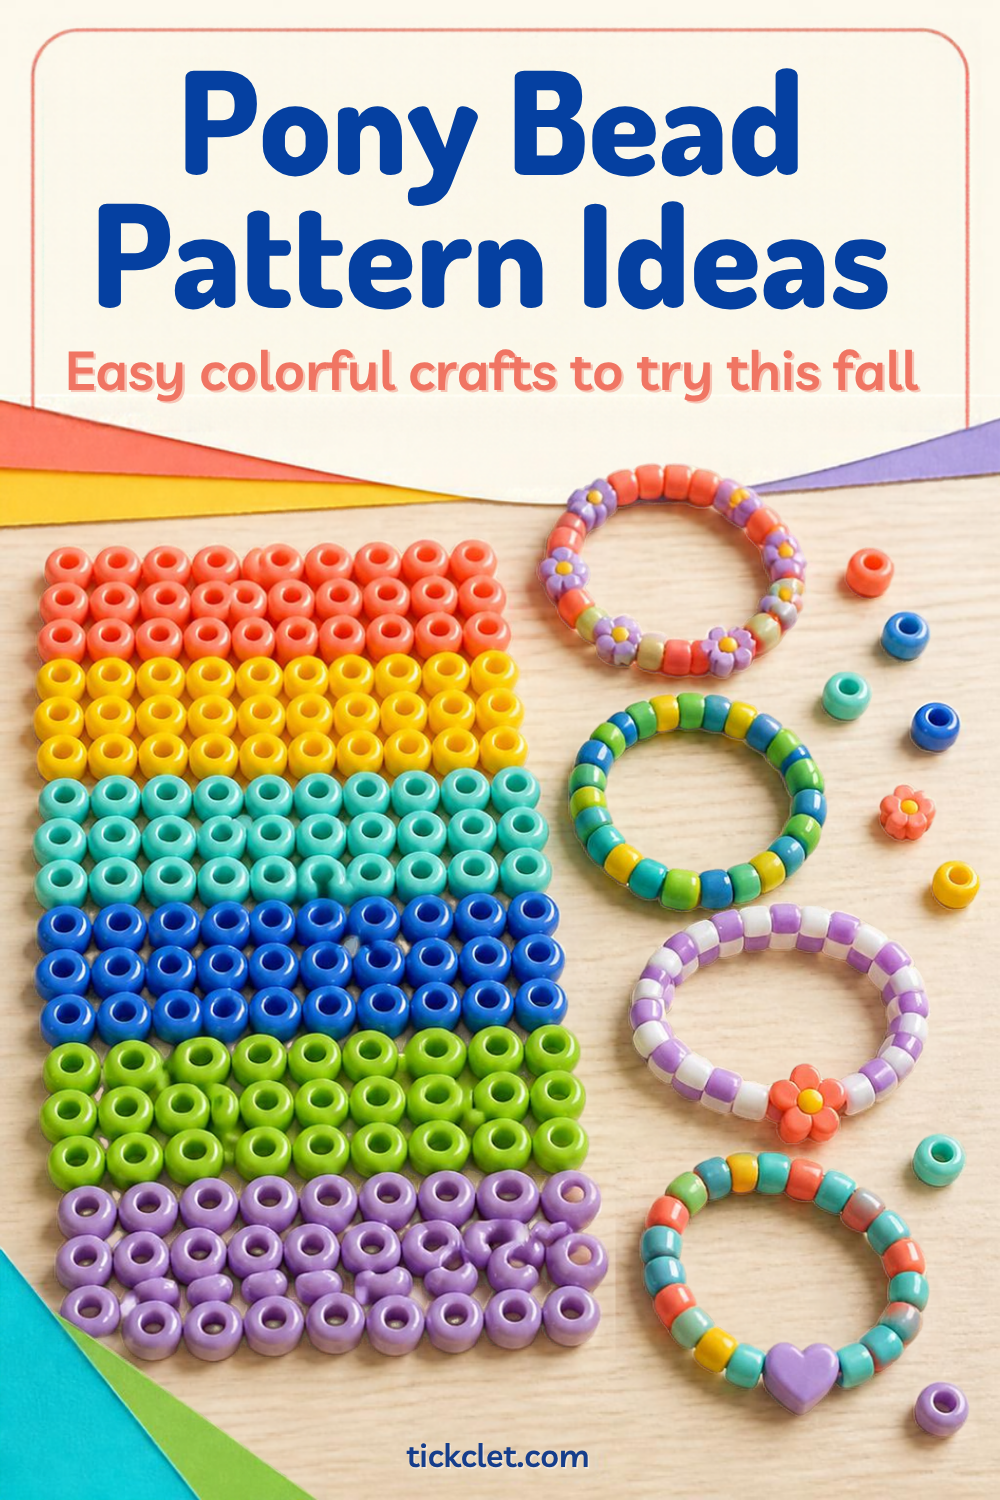
Here are six easy patterns you can follow from your first bead to the last. Each one is a short color sequence that you repeat until the bracelet is long enough. I used letters for the colors, so you can swap in whatever shades you have.
Before you start
You’ll need pony beads and a stretchy cord, plus scissors. A big mixed set makes patterns much easier, because you won’t run out of a color halfway through. One option is the Simetufy 1200Pcs Pony Beads 24 Colors Kandi Beads, which is the set I’d pick for lots of color choices. Its listing doesn’t tell me bead size, hole size or whether cord is included, so check the Amazon page for those before you order.
Six easy patterns
1. Rainbow stripe
Two beads each of red, orange, yellow, green, blue and purple, in that order. Repeat the whole sequence until the bracelet fits. It’s the classic, and it makes a good first project.
2. Checkerboard
One bead of color A, one bead of color B, and repeat: A, B, A, B. Pick two colors that contrast well, such as navy and cream, for the neatest look.
3. Candy stripe
Three beads of color A, three beads of color B, and repeat. Pink and white is the usual choice, but any two colors work.
4. Sandwich
One bead of an accent color, three beads of a base color, one accent bead, then repeat. Use one bright accent over a calm base to make it stand out.
5. Fade
Choose three shades of one color, such as light, medium and dark blue. Thread three beads of the darkest, three of the middle shade, then three of the lightest. Then reverse the order so it fades back down.
6. Fall mix
Repeat orange, brown, mustard and cream, one bead each. This works if your set has those shades, so look at the listing photos first. It’s a good pattern for a cozy craft night in October.
How to make a bracelet
- Measure your wrist with a bit of the cord, then add a little room so it isn’t tight.
- Cut the cord a few inches longer than that length, so you have enough to tie off.
- Lay your beads out in order on a table first, so you can see the pattern before you thread it.
- Thread them on one by one, keeping to the sequence.
- Tie it off with a firm knot, then trim the extra cord.
Tips for a neat result
- Sort the beads by color into small bowls before you start. It saves a lot of hunting.
- Count beads aloud as you thread, so you don’t lose your place in a pattern.
- Make a short test bracelet first if you’re trying a new pattern.
- Pick a pattern with one or two colors if you’re making lots of bracelets for a group.
FAQ
How many beads do I need for one bracelet?
It depends on the bead size and your wrist. The simplest way is to thread beads on the cord until it fits your wrist comfortably, then count.
What’s the difference between pony beads and kandi beads?
Both terms are often used for the same kind of large plastic bead. Kandi is the name of the bracelet-making style, and pony beads are the beads most people use for it.
Can kids make these?
Yes, they’re a popular craft for kids and teens. Younger children should have an adult help with the cord and scissors, and small beads shouldn’t be left where very young children can reach them.
Where can I find more pattern ideas?
Search Pinterest for “pony bead patterns” and save a few to your own board. Most patterns are just a repeating sequence like the ones above.


